Hi! I'm Amy from The Mombot and I'm so happy to be guest posting here on Just Watching My Garden Grow! Michelle and I have known each other for quite some time now, and we're even neighbors. Over the years we've shared our love of crafting, even hosting our own craft boutiques. So I am thrilled to be sharing a crafty tutorial for a crayon roll that I came up with here today.
I had seen several crayon aprons for little girls online (and even made one for one of Michelle's girls!), but one day I morphed the idea into something else. I came up with this “crayon roll” that can roll up into itself, or around a coloring book. It was made for a toddler - someone who doesn't mind only having 7 crayons, and needs a place to stick them so momma knows if one's missing! I like to whip up a couple at a time and keep them for gifts.
Here's a simple tutorial; once you do one, you'll find they go rather quickly.
Crayon Roll How-To:
1. Cut out 5 pieces:
2 rectangles 4 1/2” x 8”
1 rectangle 3 1/4” x 8”
2 long rectangles for the straps 1 1/2” x 28”
2. Place the 2 strap pieces right side together and sew down each of the 28” sides. Turn right side out and finish the ends. I usually just fold them over twice so the raw edge is hidden and sew.
3. Finish one 8” side of your 3 1/4” x 8” rectangle by folding over 1/4”, then another 1/4” and stitching. Place this rectangle on top of one of the 4 1/2” x 8” rectangles so that both right sides of the fabric are facing up and the sides and bottoms line up. Using a basting stitch (wide stitch), sew these pieces together close to the edge.
4. Now you're going to sew the dividers for the crayons. On top of the smaller rectangle, measure and mark in 1” increments (this will create 7 dividers for your crayons). Sew from the top of the small rectangle to the bottom, attaching it to the larger rectangle underneath.
5. Take your finished strap and fold in half lengthwise to find the center. Sew the center of the strap to the center of the other 4 1/2” x 8” rectangle.
6. Now you'll need to pin your straps down, keeping clear of the edges (you'll be sewing around these edges in a minute and don't want your straps to get caught in the seams. I weave them back and forth to fit and use one pin to secure.
7. Place the rectangle with the pinned straps on top of the other rectangle with the crayon dividers, right sides together. Try and smooth it out since there's some bulk from the pinned straps, and pin the outer edges together. Sew around the edges with a 1/4” seam, leaving a 2” opening so you can turn it right side out.
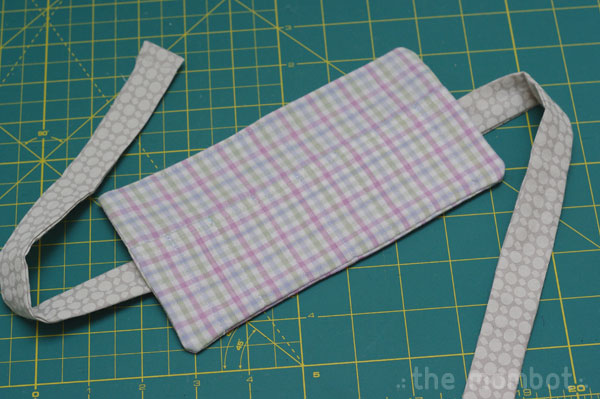
8. Turn right side out, and close opening. Iron flat. Place your crayons inside, and you're ready to go!
I hope it all made sense! Thanks for letting me guest post, Michelle!


LOVE your crayon holder/tutorial! your fabric is so cute! I have sewn several of these and was thinking last night that I should sew up at few more!
ReplyDeletethanks for sharing!